We’ve been asked many times through Instagram, emails, and messages for tips and advice on different aspects of photography and how we do things. And this got us thinking about how we can better help those around us who have all these questions. So we’ve decided to create a blog series especially for photographers to answer your questions regarding anything photography related! We took to Instagram and Facebook and asked what YOU all wanted to hear from us and what areas of need you as photographers have. We got tons of responses and have so many things we will be sharing over the next few months to answer your questions and help in whatever way we can! You can catch up on previous For Photographer posts here:
Lenses for Wedding Day Details
Lenses for Portraits and Engagements
Today we’re continuing the theme of sharing tips for the more technical side of photography! Soon we will dive into other questions we’ve gotten in regards to the business side of photography and client experience. For now we’re sharing another question we get asked a ton on how to handle harsh lighting during a wedding or session! In an ideal world, we would always have perfect lighting, glowy sunsets, and an amazing background. But the truth of the matter is that sometimes we’ve got to roll with the punches (especially on a wedding day) and there are many times we’ve got to deal with harsh lighting. Whether it’s due to the time of day you shoot, or the location with minimal shade, being able to handle harsh lighting situations is important and necessary!
First, let’s talk about what we mean by harsh light. When we refer to harsh lighting, we mean lighting that is very bright. This type of light causes our clients to squint and can often create shadows on their faces. Think of midday sun or early afternoon without any shade. So, what should you do if harsh lighting situations are unavoidable? The first thing is not to panic! We know that sounds extreme but there are many times at the beginning of our journey we would freak out when we encountered harsh light. Second, start looking for options to make the best of this situation. That’s what we’re here to share with you! Here’s how to handle harsh light and make the best of it:
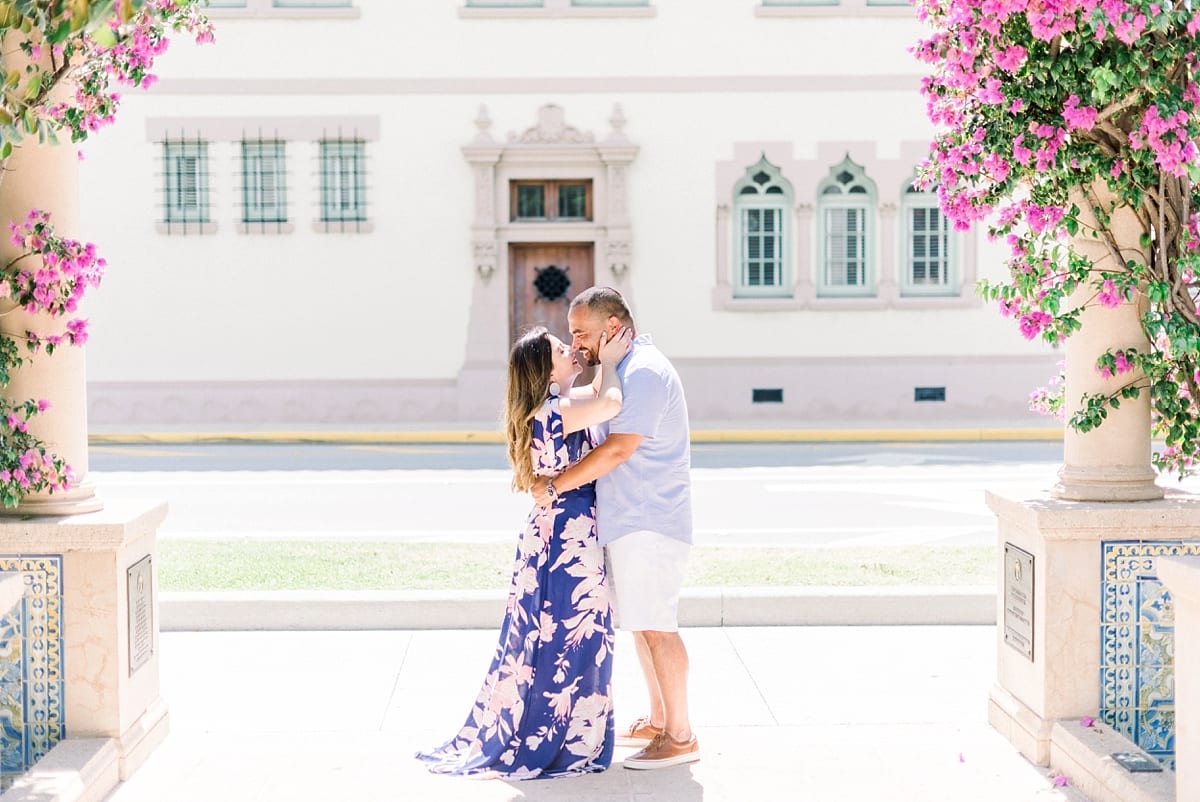
- Find Shade. If you’re put in a situation where there is no other time to take the photos except when the sun is high in the sky, try and find some shade. Whether it be at a park where there are trees or a place where building block the direct light!
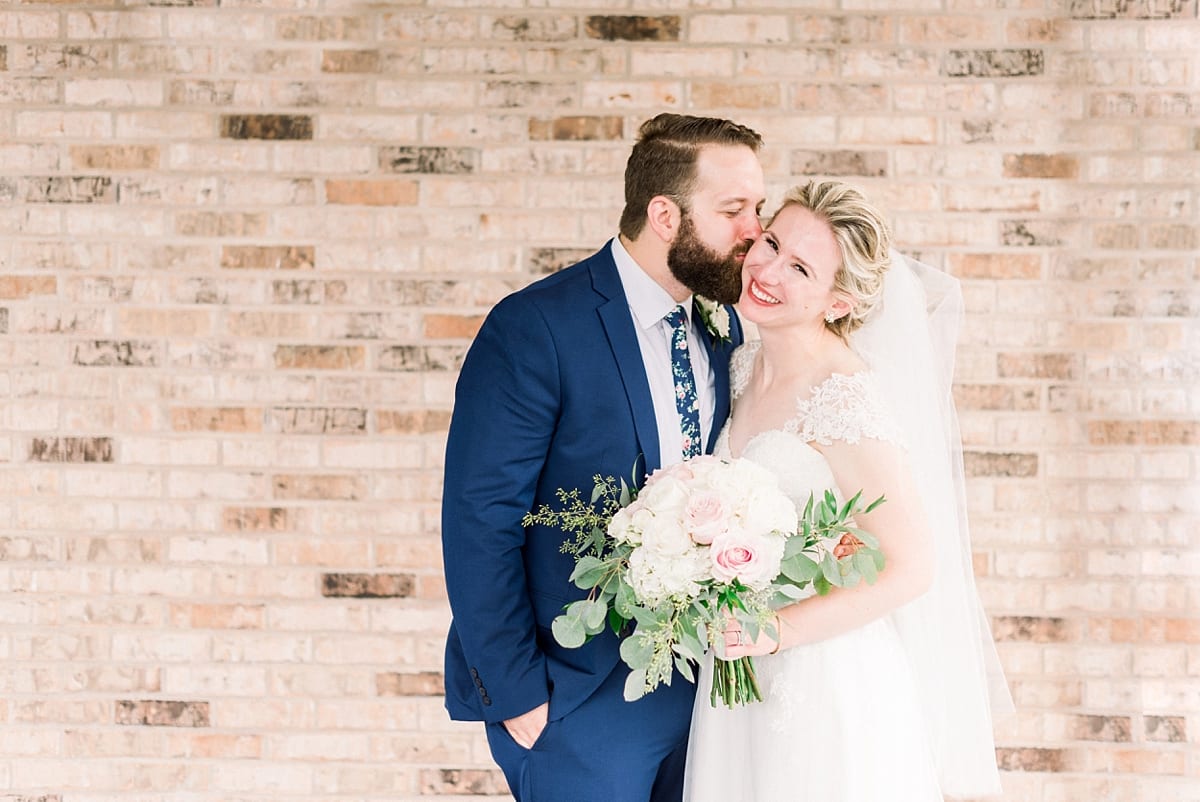
- Put a Darker Background Behind Your Subject. If there’s no way to get any shade, put something darker in the background of the image to avoid it being blown out. You can put trees, buildings, or really anything in the background that will keep the image from being completely white!
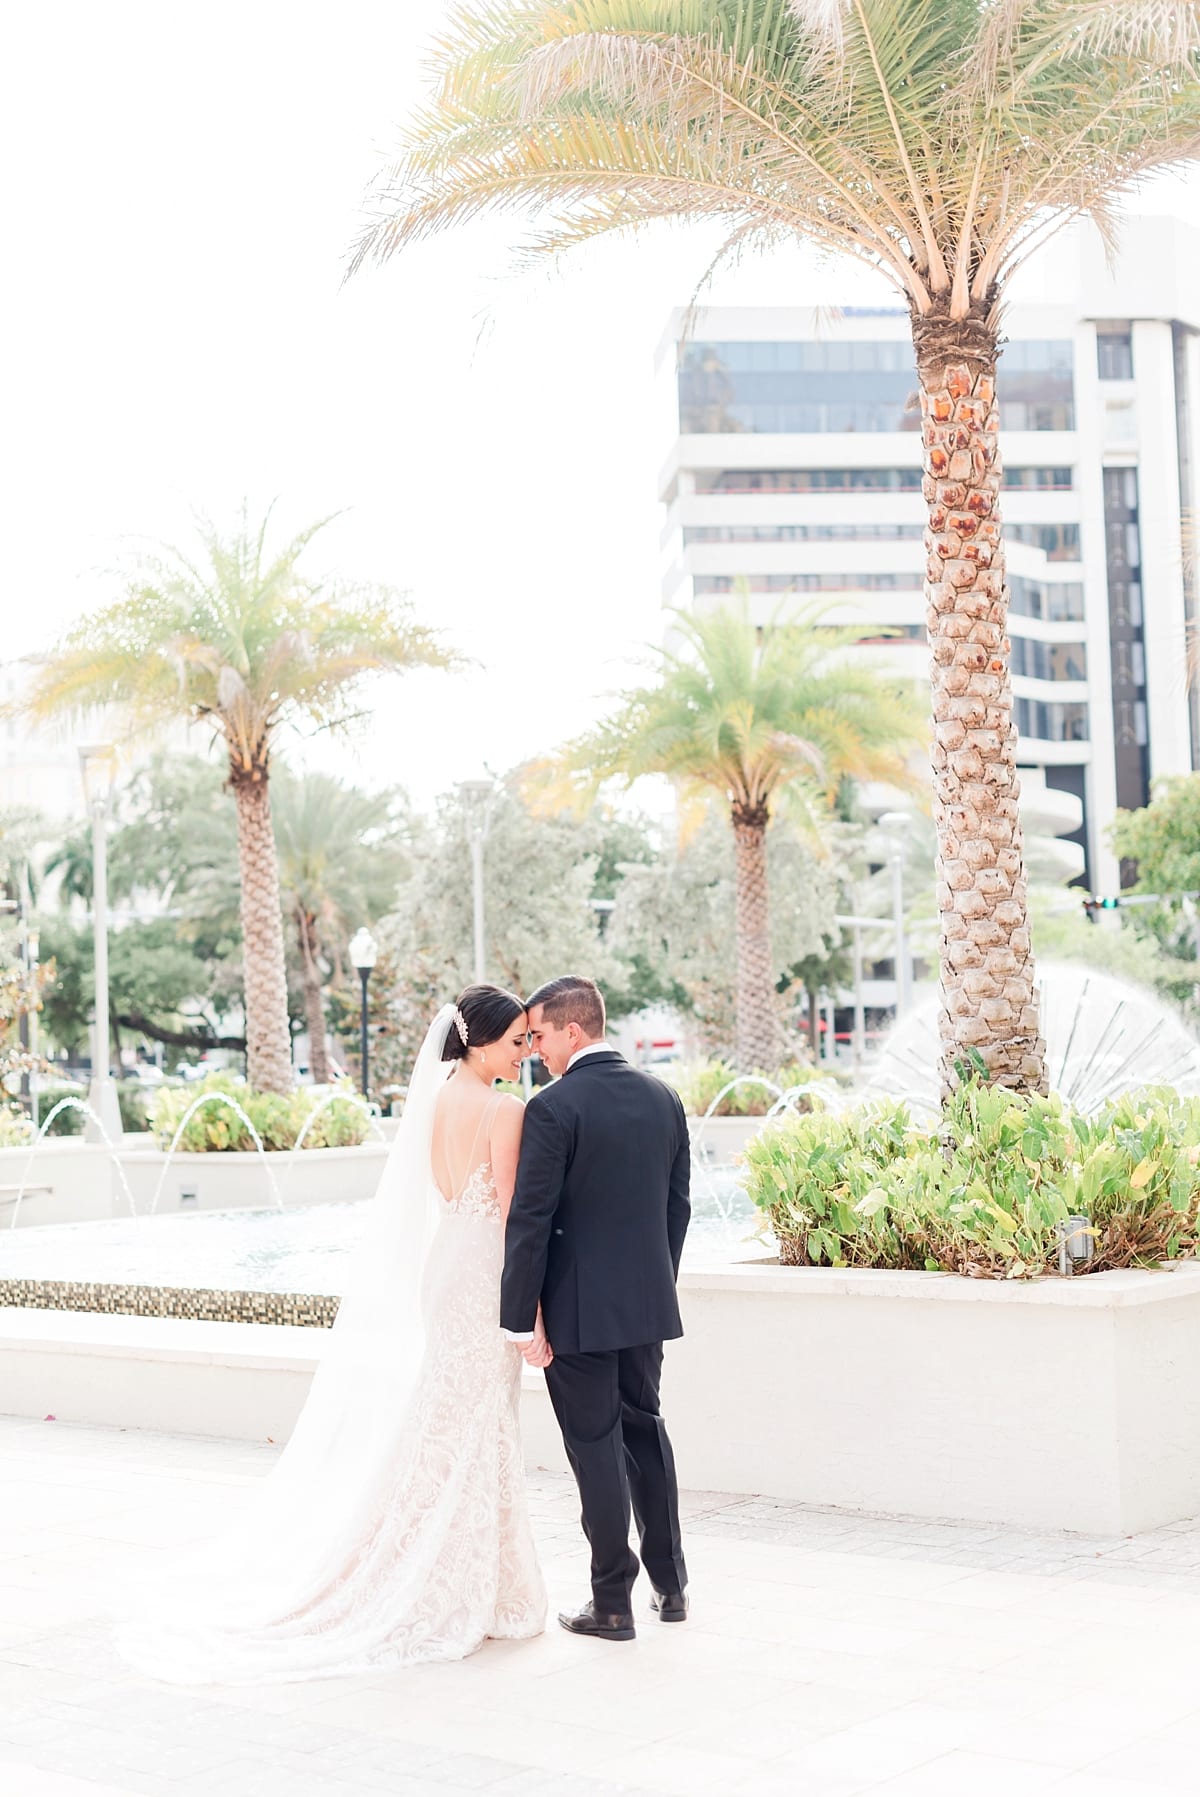
- Avoid the Sun Hitting Your Lens. When the sun directly hits your lens you get a completely hazy image. So you can use something to block the sun from hitting a lens or you can just make sure that it’s outside your viewfinder. Another trick we use sometimes is to block the light using our hand just outside the lens.
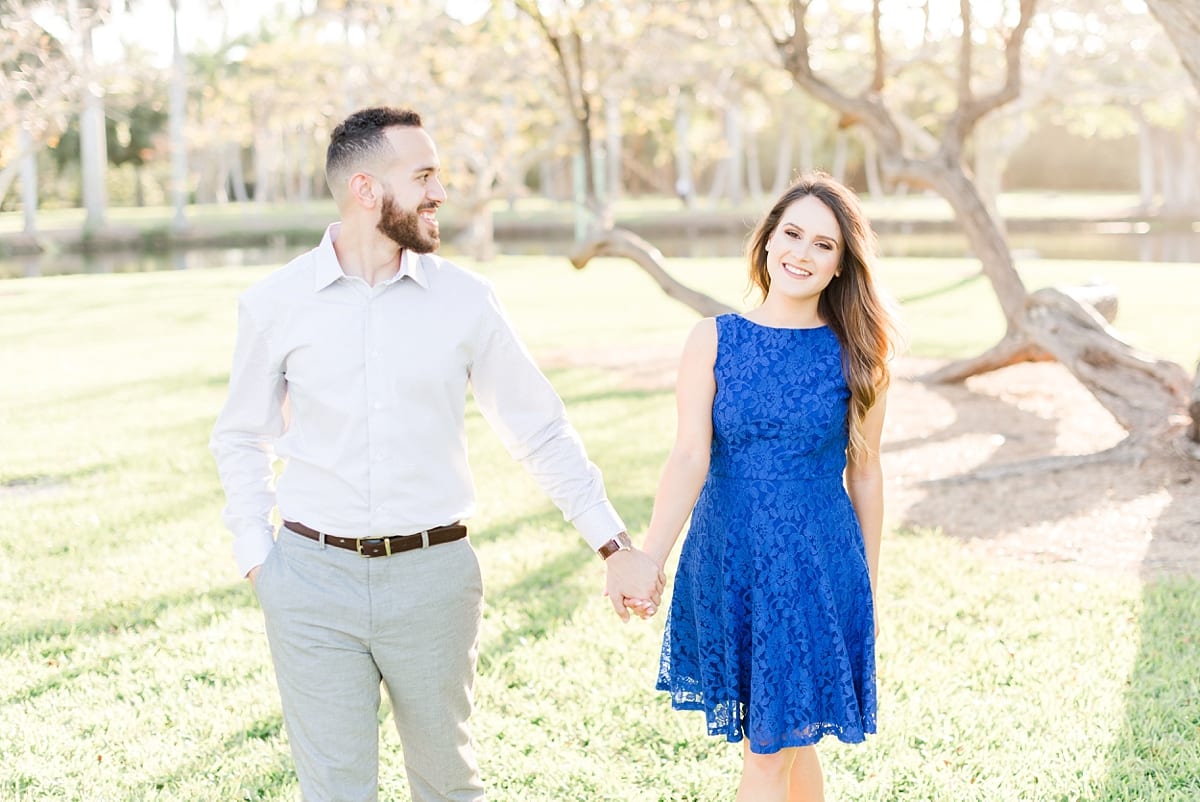
- Place the Sun Behind or to the Side of Your Clients. Something we love to do, whether we’re in a harsh lighting situation or not, is placing the sun behind our subjects. That creates that amazing glowy light we love in our images but this also works when the lighting is very harsh. If you can’t place it behind them, placing it to the side of them will also work!
We hope these tips on handling harsh lighting are helpful for you! We will be sharing more for photographer posts and tackling different subjects related to photography! And as always, if you have any questions feel free to comment on this post or contact us here!
